Canning Your Kitsap County Harvest: Simple Preservation Methods That Work

Late summer in Kitsap County is a beautiful problem to have. Zucchini piling up on the counter. Tomatoes ripening faster than you can eat them. Green beans coming in by the armful. After months of tending your beds, watering through dry July spells, and battling the occasional slug, the harvest arrives all at once — and suddenly the real question becomes: how do you hold onto it?
Home canning is one of the oldest and most practical answers. Done right, it lets you capture the flavor of peak-season produce and carry it into the darker, quieter months when your garden is resting. This guide covers the core methods that work for Kitsap County gardens — no professional credentials required, just patience, the right equipment, and a willingness to follow tested guidelines.
Why Home Canning Makes Sense for Pacific Northwest Gardeners
Kitsap County's growing season is real and productive, but it's also compressed. Our cool maritime climate means most vegetables ripen in a relatively short window, often concentrated between July and October. Families who grow their own food — whether in raised beds, ground plots, or food forest layers — frequently find themselves with more produce than they can eat fresh.
Canning solves that problem elegantly. A jar of home-canned green beans, tomatoes, or pickled cucumbers on the shelf in February represents something beyond convenience: it represents the work you put in during the growing season, preserved and ready. It's a core part of what food self-sufficiency actually looks like in practice.
If you're building toward a more regenerative, back-to-basics approach to feeding your family, preservation is the natural next step after the harvest. Growing the food is the roots. Knowing how to keep it is part of the wings.
Two Methods Every Home Canner Needs to Know
Home canning relies on two distinct methods, and choosing the right one depends entirely on what you're preserving. Using the wrong method for a given food isn't just ineffective — it can be genuinely dangerous. Understanding the difference is step one.
Water Bath Canning
Water bath canning uses a large pot of boiling water (212°F at sea level) to process filled jars. It's appropriate for high-acid foods — those with a pH of 4.6 or lower. The acidity itself inhibits the growth of harmful bacteria, and the boiling water bath provides enough heat to make those foods shelf-stable.
Foods suited to water bath canning include:
- Tomatoes (with added acid — more on this below)
- Pickles and pickled vegetables
- Jams, jellies, and fruit preserves
- Fruit and fruit juices
- Salsa (with tested recipes that maintain safe acidity levels)
Pressure Canning
Pressure canning uses a specialized pressure canner to reach temperatures of 240°F — well above what boiling water can achieve. This higher heat is the only method capable of destroying Clostridium botulinum spores, the organism responsible for botulism, in low-acid foods.
Low-acid foods that require pressure canning include:
- Green beans
- Carrots
- Beets
- Corn
- Potatoes
- Winter squash
- Most other plain vegetables
- Meats and poultry
- Soups and stews
Never attempt to water bath can green beans, corn, or other low-acid vegetables. The risk of botulism — a serious and potentially fatal illness — is real. A pressure canner is not optional for these foods; it's essential.
How Much Canning Salt Per Quart of Green Beans
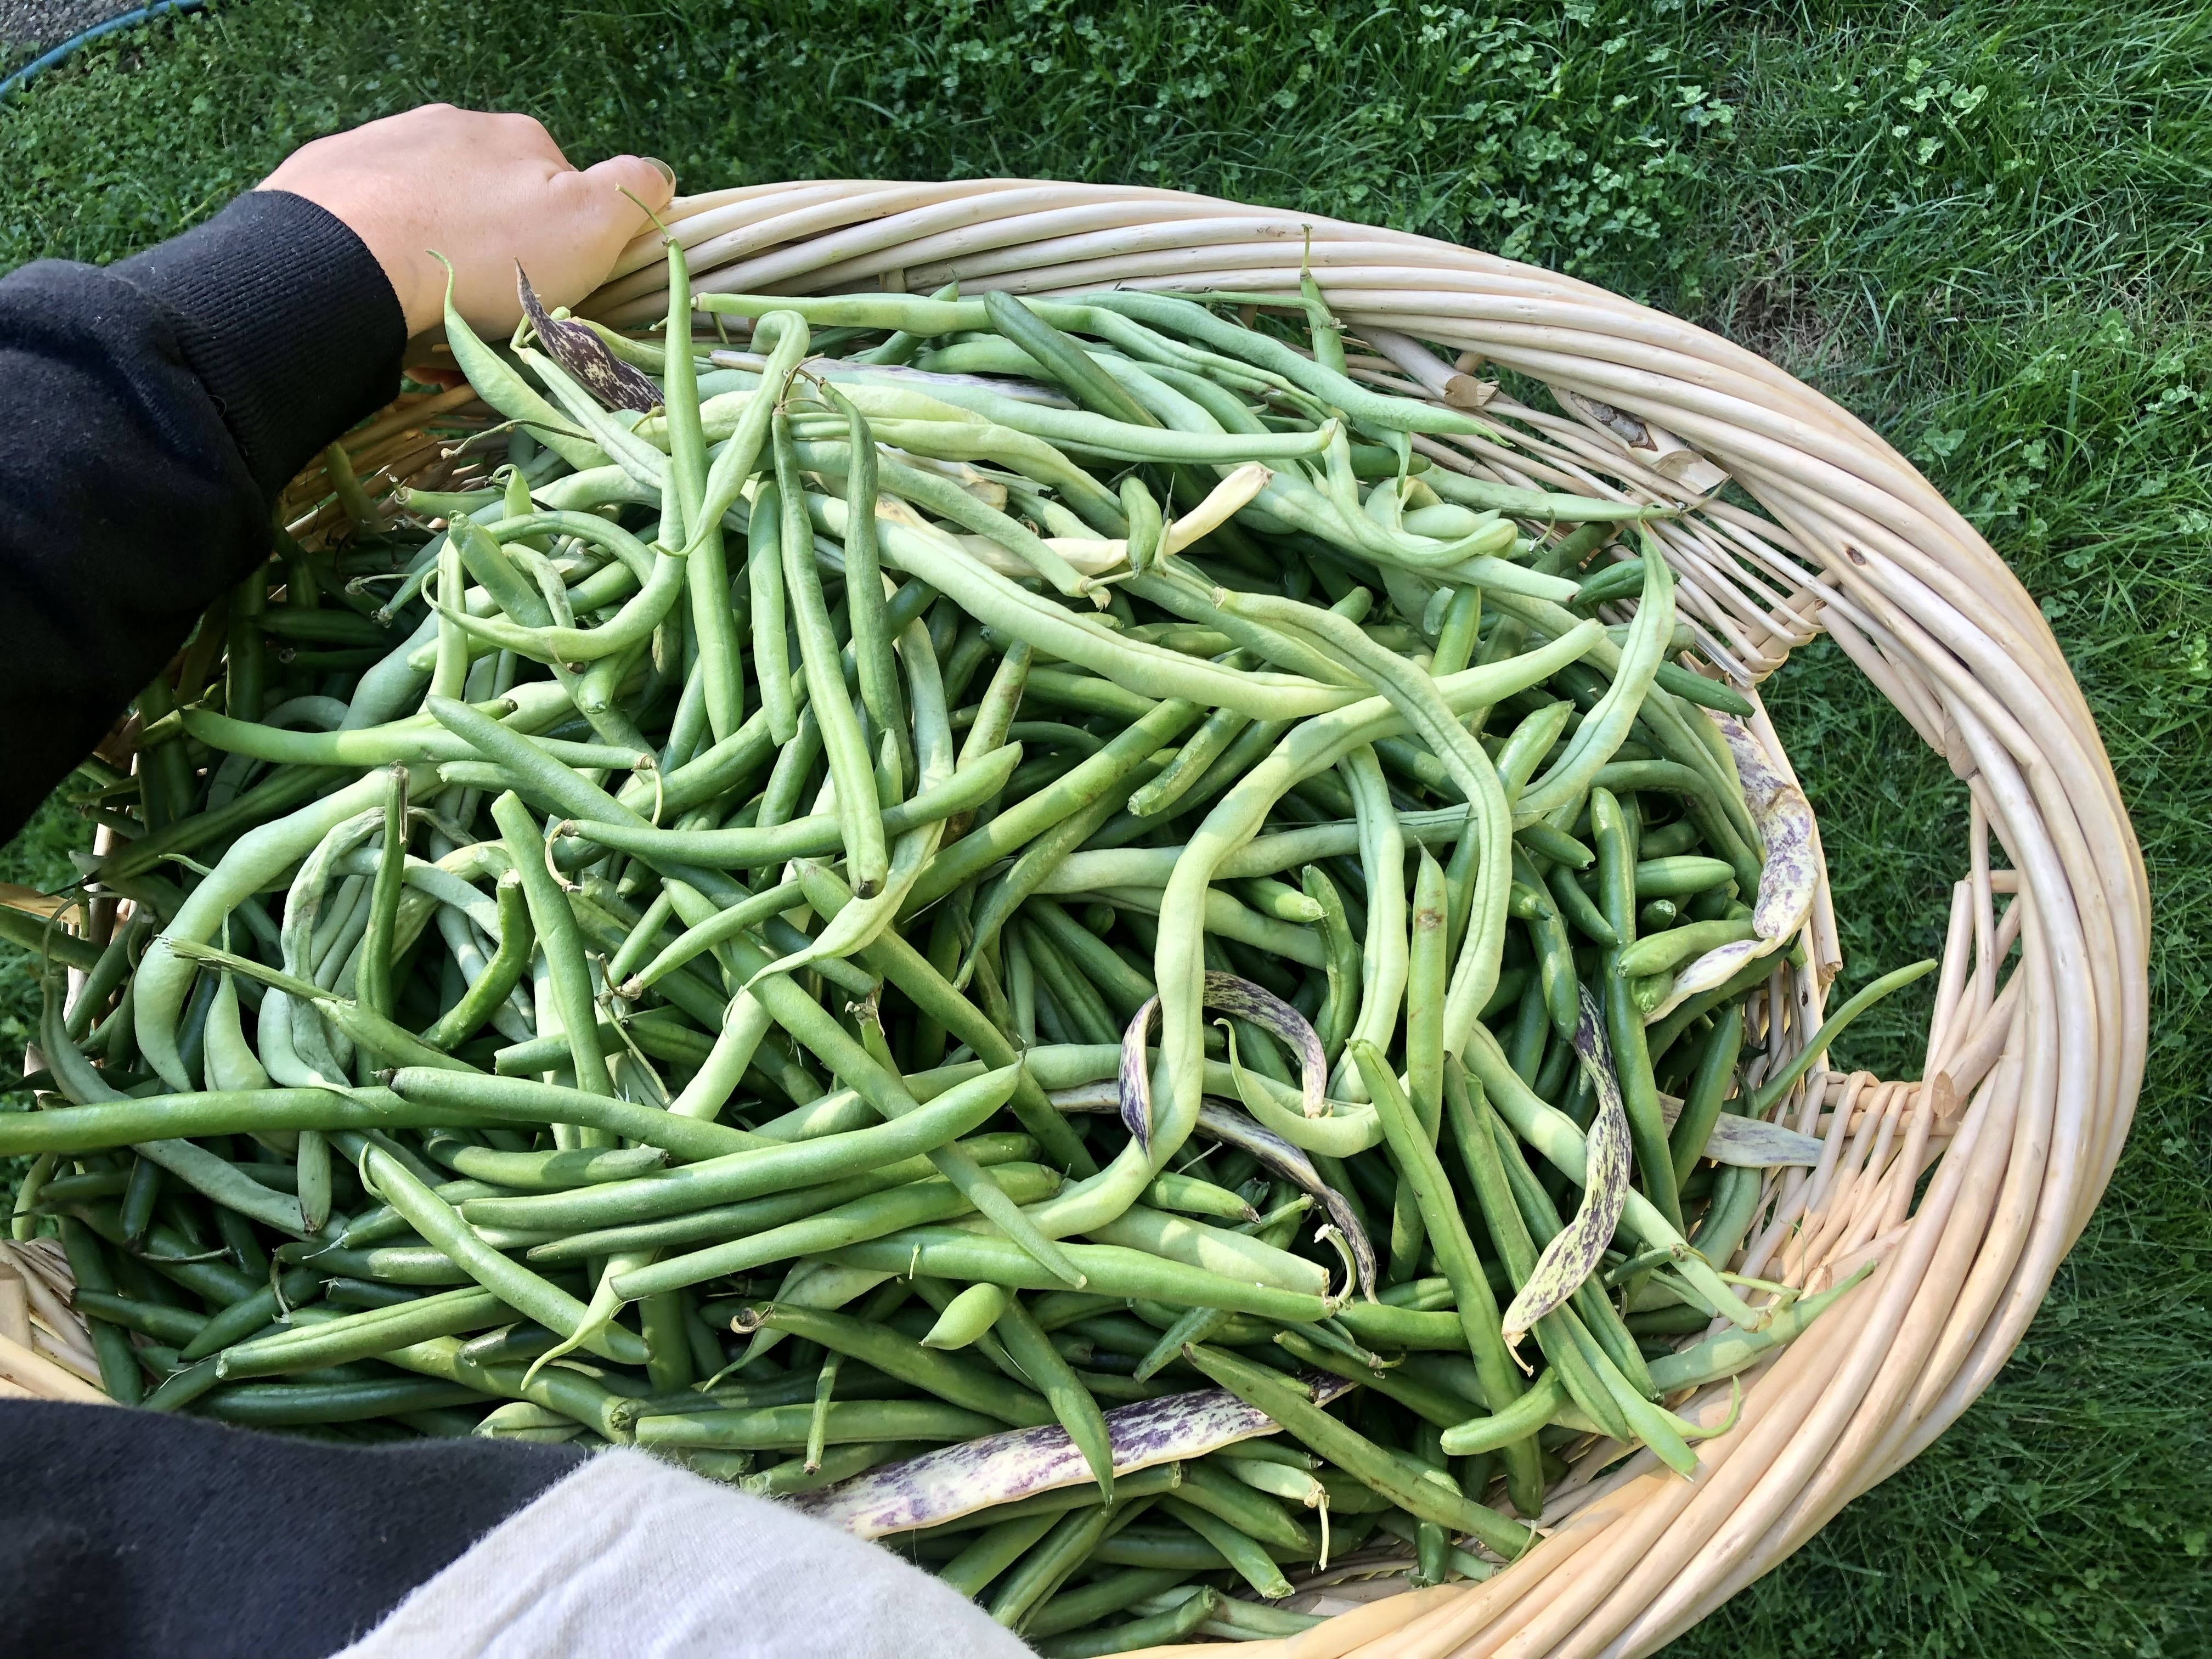
Green beans are one of the most popular vegetables Kitsap County gardeners grow and preserve, and for good reason. They're productive, they freeze and can beautifully, and they're genuinely useful in the kitchen all winter long. Pressure canning green beans is a straightforward process once you understand the basics.
The standard recommendation for canning salt in green beans is 1 teaspoon of canning salt per quart jar, or ½ teaspoon per pint jar. This is the widely accepted guideline from tested preservation authorities including the USDA and the National Center for Home Food Preservation.
A few important notes on salt in green bean canning:
- Salt is optional for safety. Unlike pickling, where salt and acid work together to preserve, salt in pressure-canned green beans is added for flavor only. The pressure canning process itself is what makes them safe. You can reduce or omit the salt if you prefer.
- Use canning or pickling salt. Regular table salt contains anti-caking agents that can cloud the liquid in your jars and may affect flavor. Iodized salt can darken vegetables over time. Plain canning salt (sometimes labeled pickling salt) dissolves cleanly and doesn't interfere with color or clarity.
- Do not substitute other salts by volume. Kosher salt, sea salt, and other coarser salts have different grain sizes and therefore different weights per teaspoon. If you're substituting, adjust by weight rather than volume — or stick with labeled canning salt to keep things simple.
Basic Pressure Canning Process for Green Beans
Here's a simplified overview of the process for hot-packed or raw-packed green beans:
- Wash and trim your beans. Snap or cut into 1–2 inch pieces.
- Pack into clean, hot jars. Raw pack: fill jars tightly with raw beans. Hot pack: boil beans for 5 minutes first, then pack loosely.
- Add salt if using — 1 teaspoon per quart, ½ teaspoon per pint.
- Cover with boiling water, leaving 1 inch of headspace.
- Remove air bubbles, wipe jar rims, and apply lids and bands fingertip-tight.
- Process in a pressure canner at 10 lbs pressure (adjust for altitude if needed) — 20 minutes for pints, 25 minutes for quarts using a dial-gauge canner. Follow your specific canner's instructions, as times can vary by model and altitude.
- Allow the canner to depressurize naturally before opening. Do not rush this step.
- Check seals after 12–24 hours of cooling. Properly sealed lids will be concave and firm. Refrigerate any jars that didn't seal and use within a few days.
If you're growing beans in Kitsap County, the guide to growing beans in Kitsap County covers variety selection and harvest timing that will help you get beans at the right stage for canning — tender but not over-mature.
Canning Tomatoes: The Pacific Northwest Staple
Tomatoes are the heart of many home canning operations, and they're also one of the trickier vegetables to get right — not because the process is complicated, but because tomatoes sit right at the edge of the safe pH range for water bath canning.
Modern tomato varieties, particularly hybrids, can have higher pH values than older varieties. To ensure your canned tomatoes stay safely within the acid range required for water bath processing, you must add acid to every jar. The standard additions are:
- Bottled lemon juice: 2 tablespoons per quart, 1 tablespoon per pint
- Citric acid: ½ teaspoon per quart, ¼ teaspoon per pint
Use bottled lemon juice rather than fresh — the acidity of fresh lemons is variable, while bottled lemon juice is standardized. This added acid is non-negotiable for safe water bath canning of tomatoes.
For whole or crushed tomatoes processed in a water bath canner, processing times are:
- Pints: 35 minutes
- Quarts: 45 minutes
These times are for sea-level processing. If you're at elevation, processing times increase. Kitsap County sits close to sea level, so standard times generally apply, but always verify with your specific tested recipe.
If you're working with a large tomato harvest, it's worth knowing that some Kitsap gardeners also have good success processing tomatoes in a pressure canner, which reduces processing time and is an excellent option if you already have the equipment out for green beans. Check the National Center for Home Food Preservation for pressure canner times specific to tomatoes.
For help getting a productive tomato harvest in our cool climate in the first place, the guide to growing tomatoes in Kitsap County walks through variety selection and timing strategies that matter here more than almost anywhere else.
Pickling: The Gateway Preservation Method
If you're new to canning and want to start somewhere approachable, pickling is often the right entry point. The high acid content of pickling brine — created by vinegar — makes pickled vegetables safe for water bath canning without the need for a pressure canner. The process is relatively quick, the results are rewarding, and the margin for error is more forgiving than plain vegetable canning.
Kitsap County gardens yield excellent candidates for pickling:
- Cucumbers — the classic. Pickling varieties grown in Kitsap County tend to produce heavily in late summer, making this a natural pairing.
- Beets — pickled beets are a Pacific Northwest pantry staple and one of the most satisfying jars to open in January. See the guide to growing beets in Kitsap County for variety recommendations that work well here.
- Green beans (dilly beans) — pickled green beans with dill and garlic are shelf-stable with water bath canning and don't require a pressure canner, unlike plain canned green beans.
- Carrots — pickled carrots hold their texture beautifully and are a versatile addition to winter meals. The Kitsap County carrot growing guide covers the varieties best suited to our cool soil.
- Radishes — quick-pickled radishes don't even require canning; they're refrigerator pickles ready in 24 hours. But for shelf-stable options, water bath processing works well.
- Zucchini — bread and butter zucchini pickles are a smart way to work through a surplus harvest.
Basic Pickling Brine Ratio
A standard and safe starting point for pickling brine is a 1:1 ratio of vinegar to water, using vinegar with at least 5% acidity. White distilled vinegar gives the clearest results; apple cider vinegar adds flavor complexity but can darken some vegetables. Never dilute vinegar below a 1:1 ratio in a tested recipe, as this reduces acidity to potentially unsafe levels.
Add salt (canning or pickling salt) and sugar to taste according to your tested recipe. Kosher salt works in pickling as long as you adjust for grain size differences, though plain pickling salt remains the simplest choice.
Equipment You Actually Need
Home canning doesn't require a fully stocked commercial kitchen, but a few pieces of equipment are genuinely essential rather than optional:
For All Canning
- Mason-style canning jars with two-piece lids (bands and flat lids). Use only jars designed for canning — do not reuse commercial jars from pasta sauce or pickles. Inspect for chips or cracks before each use.
- Jar lifter — a specialized tool for safely removing hot jars from boiling water or a pressure canner. This is not something to improvise.
- Canning funnel — makes filling jars cleanly much easier and reduces waste.
- Bubble remover or thin spatula — for releasing air bubbles trapped in packed jars before sealing.
- Clean kitchen towels — for wiping jar rims before applying lids.
For Water Bath Canning
- Large stockpot or dedicated water bath canner with a rack to keep jars off the bottom. Jars must be covered by at least 1–2 inches of water during processing.
For Pressure Canning
- Pressure canner — not a pressure cooker. These are different tools. A proper pressure canner is designed for consistent, tested processing at controlled pressures. Presto and All American are well-regarded brands. Read your manual carefully and test the gauge annually for accuracy.
Sourcing Quality Produce for Canning
The best canned food starts with the best fresh produce. Canning doesn't improve marginal vegetables — it preserves them at whatever stage they're in. That means you want to can at peak quality: firm, ripe, free of blemishes, harvested at the right stage of maturity.
For beans, harvest when pods are firm and seeds haven't yet bulged visibly. For tomatoes, can when fully ripe but not overripe or splitting. For cucumbers destined for pickles, harvest small and process the same day if possible — their texture degrades quickly after picking.
Kitsap County gardeners have an advantage here. When you're growing your own food using regenerative practices — building soil health, cycling nutrients, managing by botanical family — your produce tends to have the density and vitality that makes for better preservation results. A bean grown in well-amended, biologically active soil tastes different canned than one grown in depleted ground.
If you're thinking about soil health as part of a longer-term strategy, soil testing in Kitsap County is a useful starting point for understanding where your beds stand and what they need.
Food Safety Fundamentals That Never Change
Canning has been practiced for centuries, and modern food safety research has refined the guidelines significantly. A few principles are worth repeating:
- Always use tested recipes. Home canning is not an area for improvisation with proportions, processing times, or acidity adjustments. The USDA Complete Guide to Home Canning and the National Center for Home Food Preservation website offer free, science-based tested recipes. Recipes from trusted extension programs — including Washington State University Extension — are also reliable sources.
- Never skip headspace requirements. Headspace (the space between the food and the lid) allows for expansion during processing and is necessary for proper seal formation. Follow the specific measurement called for in your recipe.
- Don't reuse flat lids. The sealing compound on canning lids is single-use. Bands can be reused if they're in good condition; flat lids cannot.
- Check every seal before storing. Press the center of each cooled lid. It should be firm and concave. If it flexes or pops, the jar didn't seal — refrigerate and use it promptly.
- When in doubt, throw it out. If a jar shows signs of spoilage — spurting liquid when opened, off smells, mold, unusual appearance — do not taste it. Dispose of it safely.
Storing Your Canned Harvest
Properly sealed jars stored in cool, dark, dry conditions will typically maintain best quality for 12–18 months, though they remain safe to eat beyond that point as long as the seal is intact and the jar shows no signs of spoilage. For best flavor and nutrition, aim to rotate your stock and use older jars first.
A dedicated pantry shelf, basement corner, or even a closet on an exterior wall works well for most Kitsap County homes. Avoid storing jars near heat sources, in direct sunlight, or in spaces with significant temperature swings. Remove the metal bands before storing — this makes it easier to detect any seal failures and prevents rusting that can make lids difficult to remove.
Label every jar with the contents and the date processed. This sounds obvious until you're staring at a shelf of identical-looking quart jars in February trying to remember which ones are tomatoes and which ones are salsa.
Connecting Preservation to a Larger Homestead Vision
Canning is one piece of a larger picture. The families who find the most satisfaction in home food preservation tend to be the ones who've connected it to a whole system: growing food intentionally, building healthy soil, selecting varieties that store and can well, and planning their garden with preservation in mind from the start.
If you're still in the early stages of building that system, succession planting strategies for Kitsap County can help you stagger your harvests so you're not overwhelmed all at once — which makes canning far more manageable. And if seed saving is part of your longer-term vision, saving seeds from your best plants connects your preservation work back to the garden itself, closing the loop on a genuinely self-sufficient growing system.
The roots are in the soil. The wings are in the pantry, fully stocked, in the middle of January, when the rain is coming sideways and dinner is a jar you put up yourself back in August.
That's the whole point.